
 Pin it
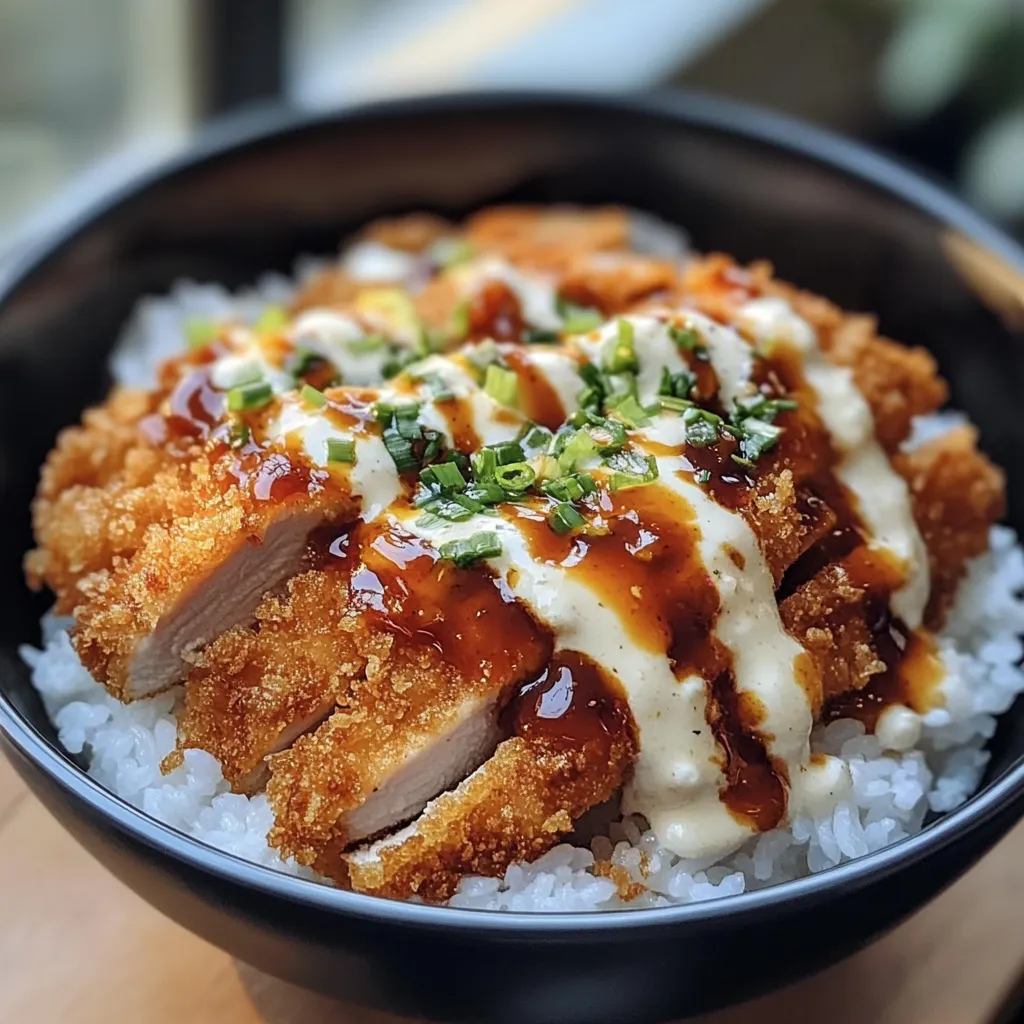
This Japanese-inspired katsu bowl transports my family to Tokyo with each crispy, savory bite. The combination of golden-fried chicken, perfectly sticky rice, and tangy tonkatsu sauce creates a restaurant-quality meal that's surprisingly easy to make at home.
I first made these katsu bowls after returning from a trip to Japan where my kids became obsessed with this dish. Now it appears on our dinner rotation at least twice a month by popular demand.
Ingredients
- Boneless chicken breasts: creates the perfect foundation with lean protein that stays juicy when properly prepared
- Panko breadcrumbs: essential for authentic Japanese katsu the larger flakes create an airy ultra crispy coating unlike regular breadcrumbs
- All purpose flour: helps the egg adhere to the meat forming the base of your coating
- Large eggs: beaten act as the glue between the flour and panko layers
- Cooked white rice: preferably short grain sushi rice provides the authentic sticky texture that pairs perfectly with katsu
- Tonkatsu sauce: the sweet tangy sauce that makes this dish memorable look for Bull Dog brand for authenticity
- Vegetable or canola oil: neutral oils with high smoke points ideal for achieving the perfect golden crust
- Fresh parsley or green onion: adds color freshness and a subtle flavor contrast to the rich katsu
Step-by-Step Instructions
- Prepare the Chicken:
- Pound chicken breasts to an even half inch thickness using a meat mallet or heavy pan between plastic wrap. This ensures even cooking and tenderizes the meat. Season both sides generously with salt and pepper allowing the flavors to penetrate the meat.
- Set Up Your Breading Station:
- Arrange three shallow bowls in sequence. Place flour in the first bowl beaten eggs in the second and panko breadcrumbs in the third. This assembly line approach streamlines the coating process and keeps one hand dry for handling.
- Bread the Cutlets:
- Dredge each chicken piece thoroughly in flour shaking off excess. Next dip into beaten egg ensuring complete coverage. Finally coat with panko pressing gently to create an even layer without compacting the breadcrumbs too much which would reduce crispiness.
- Fry to Golden Perfection:
- Heat oil to exactly 350°F using a thermometer for accuracy. The proper temperature ensures the chicken cooks through without absorbing excess oil. Gently lower breaded cutlets into hot oil and fry for precisely 3 to 4 minutes per side rotating only once for even browning. The panko should turn deep golden brown not dark brown.
- Rest and Slice:
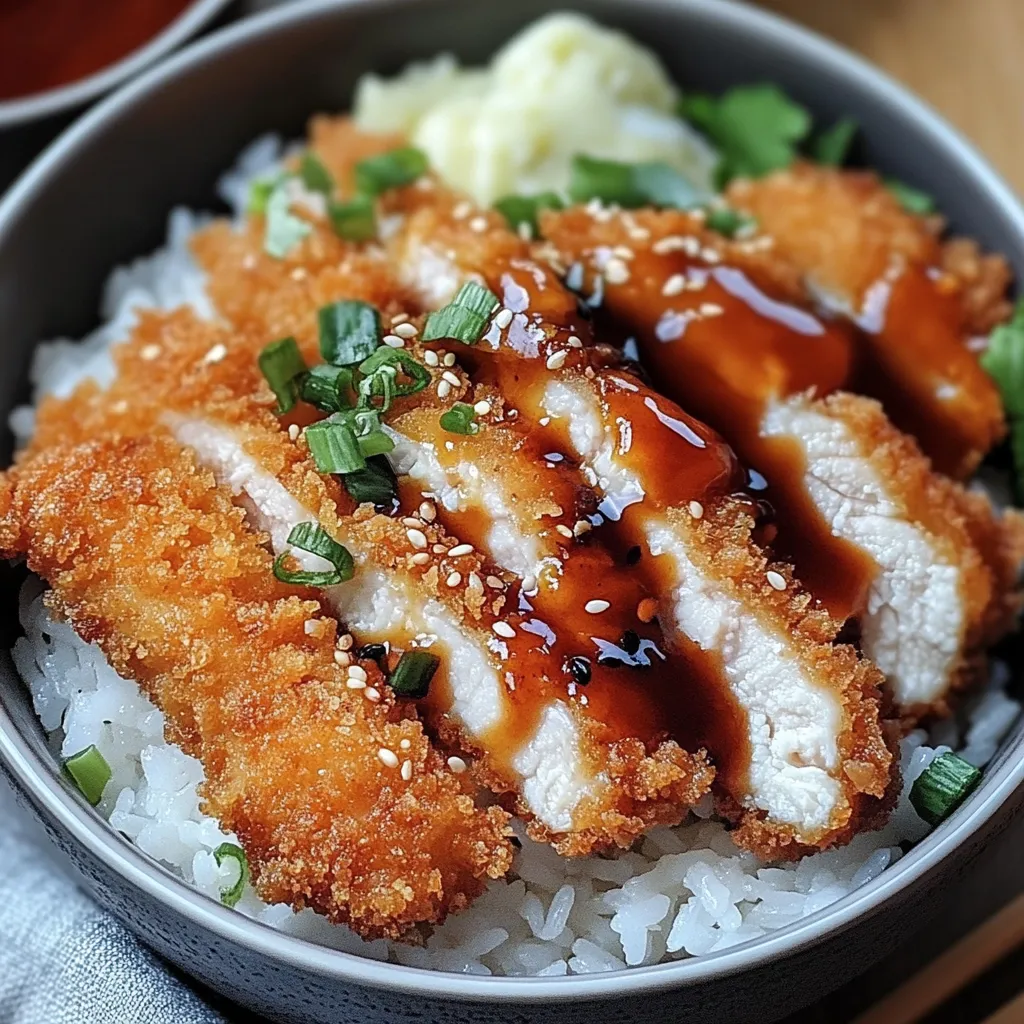
- Transfer fried cutlets to a paper towel lined plate to absorb excess oil. Allow to rest for 3 minutes before slicing into strips against the grain which enhances tenderness and makes the katsu easier to eat.
- Prepare Sauce and Assemble:
- If making homemade tonkatsu sauce whisk all sauce ingredients until smooth tasting and adjusting sweetness as needed. To assemble place a generous portion of rice in each bowl arrange sliced katsu alongside and drizzle with tonkatsu sauce. Garnish with chopped herbs for a professional presentation.
 Pin it
My Japanese neighbor taught me the authentic technique for katsu and insisted on using only genuine Japanese panko breadcrumbs. The difference was remarkable with a lighter crunchier texture that stays crisp even after saucing. Her family recipe has become our gold standard.
Make Ahead Options
Prepare these katsu bowls efficiently by breading the chicken up to 8 hours ahead. Store prepared cutlets in the refrigerator on a wire rack over a baking sheet covered loosely with plastic wrap. This allows air circulation preventing the breading from becoming soggy. When ready to serve simply fry as directed for a quick meal with all the flavor and none of the last minute prep stress.
Perfect Pairings
Complete your katsu bowl with traditional Japanese side dishes for an authentic experience. Serve alongside quick pickled vegetables like thinly sliced cucumber or daikon radish marinated in rice vinegar and sugar. A small bowl of miso soup makes the perfect starter while shredded cabbage dressed with a squeeze of lemon juice creates the classic accompaniment served in Japanese restaurants worldwide.
Variation Ideas
Transform this recipe by swapping chicken for other proteins. Pork loin cutlets create the traditional tonkatsu experience with a slightly richer flavor profile. For a seafood twist use firm white fish fillets adjusting cooking time to about 2 minutes per side. Vegetarians can enjoy this dish with extra firm tofu sliced into half inch planks and pressed between paper towels to remove excess moisture before breading and frying.
Frequently Asked Questions
- → What is tonkatsu sauce made of?
Tonkatsu sauce is a savory, slightly sweet sauce made from ketchup, Worcestershire sauce, soy sauce, and sugar. You can adjust the sweetness to your taste when preparing it at home.
- → How do you achieve crispy chicken cutlets?
To get crispy chicken cutlets, coat the chicken in flour, then dip it in beaten eggs, and finally cover it with panko breadcrumbs. Make sure the breadcrumbs adhere well before frying.
- → What kind of rice works best for these bowls?
Sushi rice or any short-grain white rice works best for these katsu bowls. Its sticky texture pairs perfectly with the tonkatsu sauce and crispy chicken.
- → Can I prepare tonkatsu sauce in advance?
Yes, homemade tonkatsu sauce can be prepared in advance and stored in the refrigerator for up to a week in an airtight container.
- → What oil is best for frying chicken katsu?
Vegetable oil or canola oil are excellent choices for frying chicken katsu due to their high smoke point and neutral flavor.