
 Pin it
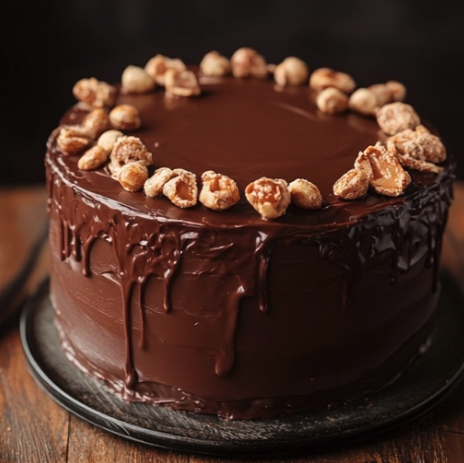
This rich chocolate peanut butter cup cake has become my signature dessert for celebrations, combining two iconic flavors in perfect harmony through six decadent layers.
I first created this cake for my chocolate-obsessed nephew's birthday party, and now it's requested at every family gathering as "that amazing peanut butter cup cake."
Ingredients
- All purpose flour: Creates the perfect tender crumb structure, use Dutch process cocoa powder for a deeper chocolate flavor
- Dutch process cocoa powder: Delivers rich chocolate flavor without bitterness
- Baking powder and baking soda: Work together for the ideal rise and texture
- Creamy no stir peanut butter: Provides consistent texture in the frosting
- Instant espresso powder: Enhances the chocolate flavor without tasting like coffee
- Heavy cream: Makes a silky smooth ganache that sets at the perfect consistency
Step-by-Step Instructions
- Prepare Your Pans:
- Properly preparing your cake pans prevents sticking and ensures even baking. Take time to spray thoroughly with nonstick spray and line bottoms with parchment paper. Cake strips create level cakes by insulating the edges.
- Create the Chocolate Cake Batter:
- The vinegar and milk mixture creates a homemade buttermilk that tenderizes the cake crumb. Whisk wet ingredients thoroughly before adding dry ingredients for the smoothest batter. The hot espresso water mixture blooms the cocoa powder enhancing flavor dramatically.
- Bake with Precision:
- Divide batter evenly between pans for uniform layers. The 35-40 minute bake time is crucial, watch for a toothpick with just a few moist crumbs not completely clean or too wet. Allow cakes to cool partially in pans before transferring to racks.
- Craft the Peanut Butter Frosting:
- Room temperature butter and peanut butter blend together smoothly without lumps. Add powdered sugar gradually to prevent a mess and ensure proper incorporation. Adjust milk quantities carefully to maintain a sturdy yet spreadable consistency.
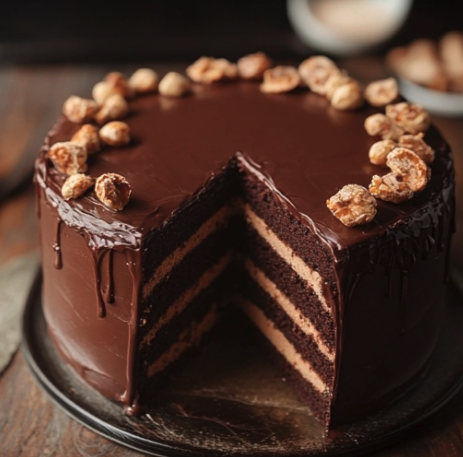
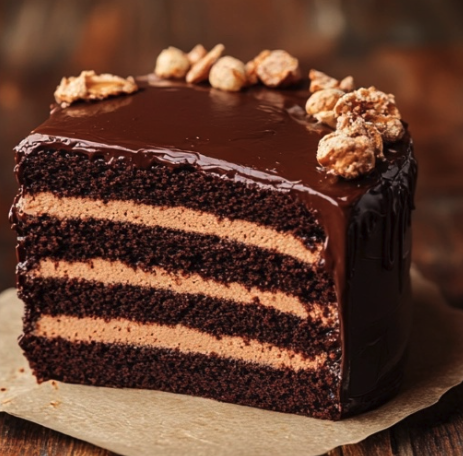
- Create Six Even Layers:
- Level each cake first before attempting to split horizontally. Use a cake leveler or long serrated knife held parallel to your work surface for the most precise cuts. Work slowly and rotate the cake as you cut for even layers.
- Stack and Fill Masterfully:
- Apply an even 3/4 cup frosting between each layer spreading all the way to the edges. The naked cake effect creates a rustic look while allowing the impressive layers to show through. Chilling between steps stabilizes the cake for easier handling.
- Add the Finishing Touches:
- Testing ganache consistency before dripping prevents runaway chocolate. The brief chill time creates the perfect sticky surface for decorations to adhere. Arranging peanut butter cups and chopped nuts while ganache is still tacky ensures they stay in place.
 Pin it
The espresso powder is my secret weapon in this recipe. While most people worry it will make the cake taste like coffee, it actually just enhances the chocolate flavor in a way that makes everyone ask what my secret ingredient is.
Storage Secrets
This cake actually improves after a day in the refrigerator as the flavors meld together beautifully. Store leftovers in an airtight container in the refrigerator for up to 5 days. For the best texture, let chilled slices sit at room temperature for 15 minutes before serving. If freezing, wrap individual slices tightly in plastic wrap and then foil—they will keep for up to 3 months.
Smart Substitutions
For a gluten-free version, substitute the all purpose flour with a 1-to-1 gluten-free baking flour blend that contains xanthan gum. If peanut allergies are a concern, use almond butter or sunflower seed butter in the frosting with equally delicious results. No espresso powder? Use instant coffee granules or simply omit it, though the chocolate flavor will be slightly less intense.
Serving Suggestions
This cake pairs wonderfully with vanilla ice cream to balance its richness. For an elevated presentation, warm individual slices for 10 seconds in the microwave and serve with a drizzle of warm peanut butter. Consider slicing this tall cake with a hot knife for the cleanest cuts that showcase all six beautiful layers.
 Pin it
Frequently Asked Questions
- → What is the key to making moist chocolate cake layers?
Using ingredients like vinegar, hot water, and vegetable oil in the batter, along with properly measuring the flour, ensures the layers stay moist and tender.
- → How can I make a smooth peanut butter frosting?
Ensure the butter and peanut butter are at room temperature before mixing. Add powdered sugar gradually and adjust with milk until the consistency is smooth.
- → Can I make this cake gluten-free?
Yes, you can substitute the all-purpose flour for a gluten-free flour blend that works well for baking.
- → How do I achieve perfect ganache drips on the cake?
Chill the ganache slightly before application and test a small drip first. The ganache should be thick enough to cling to the cake without dripping too far.
- → What toppings work well for this cake?
Peanut butter cups, chopped salted peanuts, or even chocolate shavings all add flavor and texture as toppings.
- → How should I store the assembled cake?
Store the cake in the refrigerator, covered, to keep the frosting and ganache firm. Let it sit at room temperature for about 15 minutes before serving.