
 Pin it
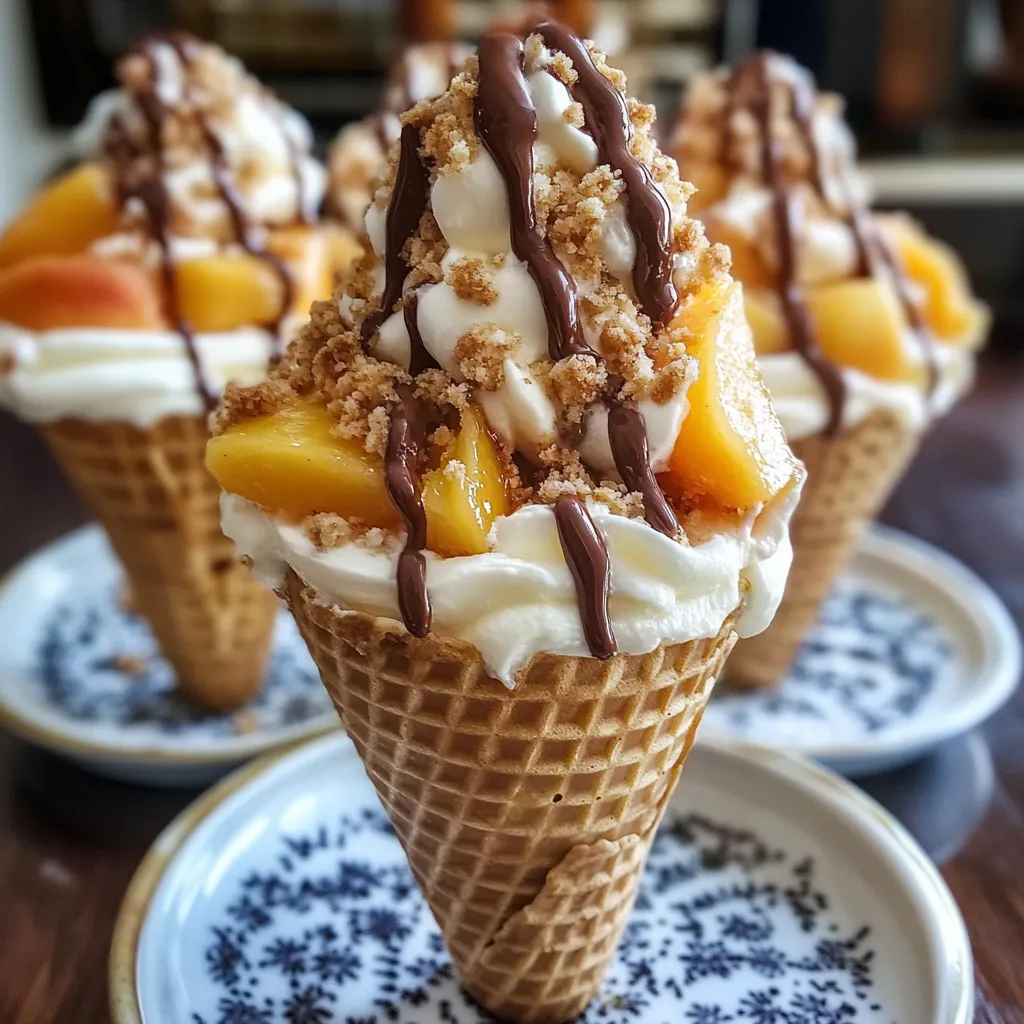
This peach cobbler cheesecake cone recipe transforms a classic dessert into a portable, handheld treat that combines the warm, comforting flavors of peach cobbler with the cool creaminess of cheesecake, all wrapped in a crunchy, cookie-coated waffle cone.
I first created these for my daughter's summer birthday party when I wanted something more exciting than regular cake. The guests were absolutely delighted by the unexpected combination, and now they've become our signature dessert for outdoor gatherings.
Ingredients
- Cream filled cookies: Adds texture and flavor to the cone exterior and creates an indulgent first bite
- Waffle cones: Provides the perfect handheld vessel for the fillings and stays crisp even with warm cobbler inside
- Whipped cream: Creates a light finish on top that beautifully contrasts with the rich fillings
- Sliced peaches with juice: Forms the base of the cobbler, use canned for convenience or fresh when in season
- Cake mix: Contributes the cobblery texture and sweet flavor without extensive preparation
- Salted butter: Balances sweetness and creates the perfect caramelized crust on the cobbler
- Cinnamon: Adds warmth and enhances the peach flavor, use Saigon cinnamon for more intensity
- Heavy whipping cream: Creates the light, airy texture essential for perfect cheesecake filling
- Confectioner's sugar: Dissolves completely for a smooth, silky cheesecake texture
- Vanilla extract: Enhances all the flavors, use pure not imitation for best results
- Cream cheese: Forms the tangy base of the cheesecake layer, allow to soften properly for smoothness
- Lemon juice: Brightens the cheesecake filling and cuts through richness
Step-by-Step Instructions
- Prepare the cones:
- Start by melting chocolate in short microwave intervals, stirring between each until completely smooth. Dip each waffle cone in melted chocolate, coating the top edge, inside bottom, or entire cone depending on your preference. The chocolate creates a moisture barrier that keeps the cone crisp when filled with warm cobbler.
- Create the cookie coating:
- Process the cream filled cookies in a food processor until they become fine crumbs with some texture remaining. While the chocolate is still wet, roll the coated portions of the cone in the cookie crumbs, pressing gently to ensure they adhere well. This creates a delicious, textured exterior that adds both visual appeal and flavor.
- Assemble the peach cobbler:
- Spray your baking dish thoroughly to prevent sticking. Add the peaches with their juice, distributing them evenly. Sprinkle the dry cake mix over the peaches, ensuring complete coverage without mixing. Slowly drizzle melted butter over the entire surface, trying to moisten all of the cake mix. The butter will create a golden, crisp cobbler topping.
- Bake to perfection:
- Place the cobbler in your preheated oven and bake until the top becomes golden brown and the filling bubbles around the edges. The peaches will soften and release more juice while the cake mix transforms into a buttery, crumbly topping with incredible texture and flavor.
- Whip the cream component:
- In a cold mixing bowl, whip the heavy cream until it forms stiff peaks. The cream should hold its shape when the beater is lifted but still remain smooth and not grainy. This will provide the light, airy component of the cheesecake filling.
- Create the cheesecake base:
- Beat the softened cream cheese until completely smooth with no lumps remaining. Add confectioner's sugar, vanilla extract, and lemon juice, continuing to beat until the mixture is silky and well combined. The lemon juice brightens the flavor and balances the sweetness.
- Combine the filling elements:
- Gently fold the whipped cream into the cream cheese mixture using a spatula with a light hand. Maintain as much air as possible in the mixture by folding rather than stirring. The resulting filling should be light yet rich, with a perfect cheesecake flavor.
- Assemble the cones:
- Layer alternating spoonfuls of warm peach cobbler and cheesecake filling into each prepared cone. Start with cheesecake at the bottom to prevent the cone from getting soggy too quickly. Finish with a decorative swirl of whipped cream on top and a sprinkle of reserved cookie crumbs for visual appeal.
 Pin it
The secret to this recipe is the contrast of temperatures and textures. I discovered this technique while experimenting with leftover peach cobbler from Sunday dinner. My husband suggested adding some cream cheese frosting, and the idea evolved from there. Now our family has a tradition of cobbler cone nights during peach season.
Make Ahead Options
You can prepare all components of this dessert in advance for easy assembly when needed. The cookie-coated cones can be made up to 3 days ahead and stored in an airtight container. The cheesecake filling will stay fresh in the refrigerator for up to 2 days, and the peach cobbler can be made a day ahead and gently reheated before serving. Keep everything separate until just before serving for the best texture experience.
Flavor Variations
This versatile recipe works beautifully with other fruit cobblers as well. Try apple cobbler with a sprinkle of nutmeg during fall months, or berry cobbler for a more tart experience in summer. You can also experiment with different cookie coatings like gingersnaps with apple cobbler or chocolate cookies with berry variations. For adults, consider adding a tablespoon of bourbon to the peach mixture or amaretto to the cheesecake filling for a sophisticated twist.
Serving Suggestions
Create a cone assembly station for parties where guests can build their own creations. Provide various toppings like caramel sauce, chocolate drizzle, crushed nuts, and different cookie crumbs. Serve the cones in small cups to catch any drips, especially for children. For a more elegant presentation, place assembled cones in martini glasses with a small scoop of vanilla ice cream at the base.
Frequently Asked Questions
- → Can I use fresh peaches instead of canned?
Yes, fresh peaches can be used, but make sure to add some liquid, such as peach juice or sugar syrup, for the cobbler.
- → What type of cones work best?
Waffle cones are ideal for sturdiness and taste, but sugar cones can work as well.
- → Can I make these cones ahead of time?
You can prepare the cobbler and cheesecake fillings in advance, but assemble the cones just before serving to keep them crispy.
- → Is there a substitute for cream cheese in the filling?
Mascarpone cheese can be used as a substitute for a slightly sweeter and creamier texture.
- → How do I store leftovers?
Store leftover cobbler and cheesecake filling separately in airtight containers in the refrigerator for up to three days. Assemble the cones fresh when needed.