
 Pin it
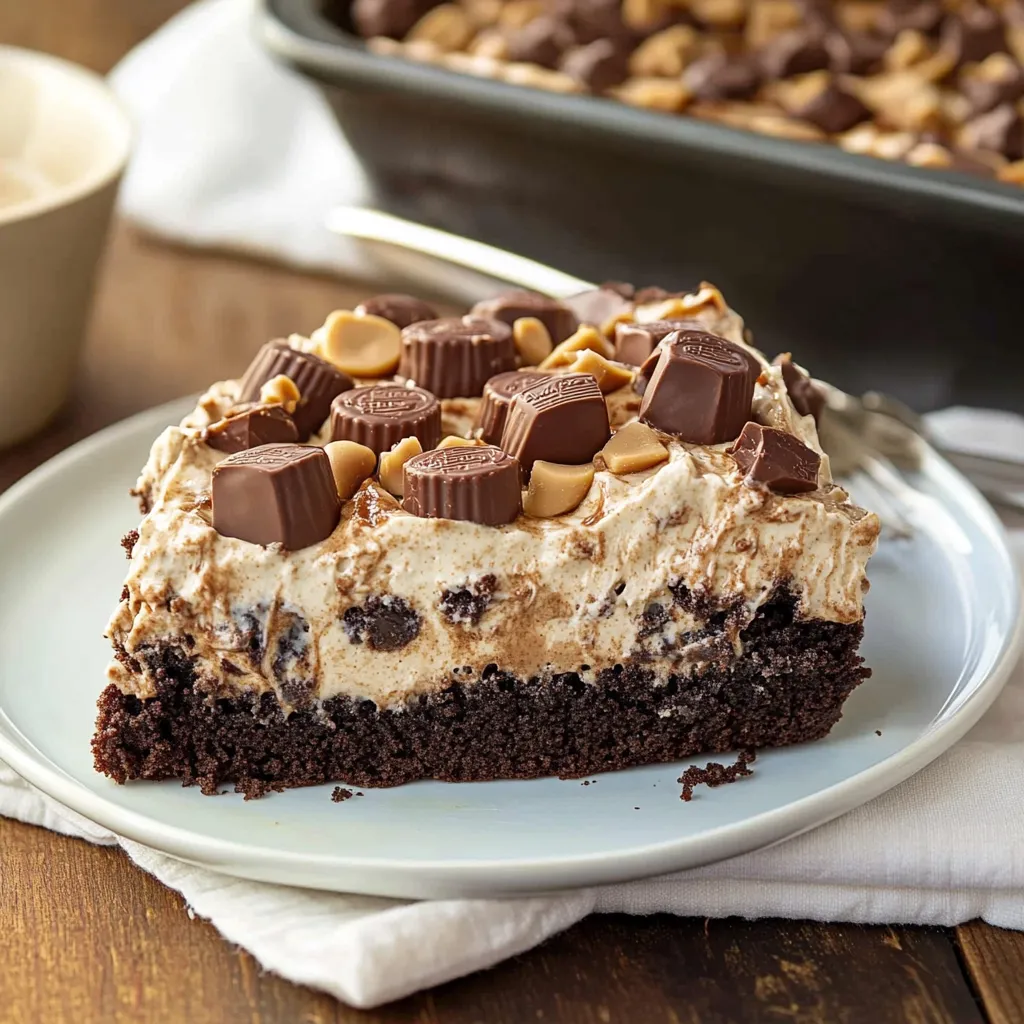
This indulgent Reese's Poke Cake transforms your favorite candy into a showstopping dessert that will have everyone asking for seconds. The combination of chocolate cake infused with peanut butter pudding creates a moist, flavorful base while the layers of chocolate frosting, peanut butter whipped topping, and chopped Reese's cups make each bite pure heaven.
I first made this for my son's birthday party and it disappeared faster than any other dessert I've ever served. Now it's requested at practically every family gathering we have.
Ingredients
- Chocolate cake mix: Plus ingredients listed on box creates the perfect foundation for this dessert. The boxed mix ensures consistent results.
- Vanilla instant pudding mix: Gets transformed when combined with peanut butter for that signature Reese's flavor.
- Cold milk: Activates the pudding and helps it seep into all those delicious poke holes.
- Creamy peanut butter: Is the star ingredient. Look for a commercial brand like Jif or Skippy for best results and texture.
- Chocolate frosting: Provides that perfect chocolate layer that mimics the outer coating of a peanut butter cup.
- Frozen whipped topping: When mixed with peanut butter creates an irresistibly light and fluffy topping.
- Mini Peanut Butter Cups: Make this dessert instantly recognizable and add texture to each bite. Always choose fresh ones with intact chocolate coating.
Step-by-Step Instructions
- Bake The Base:
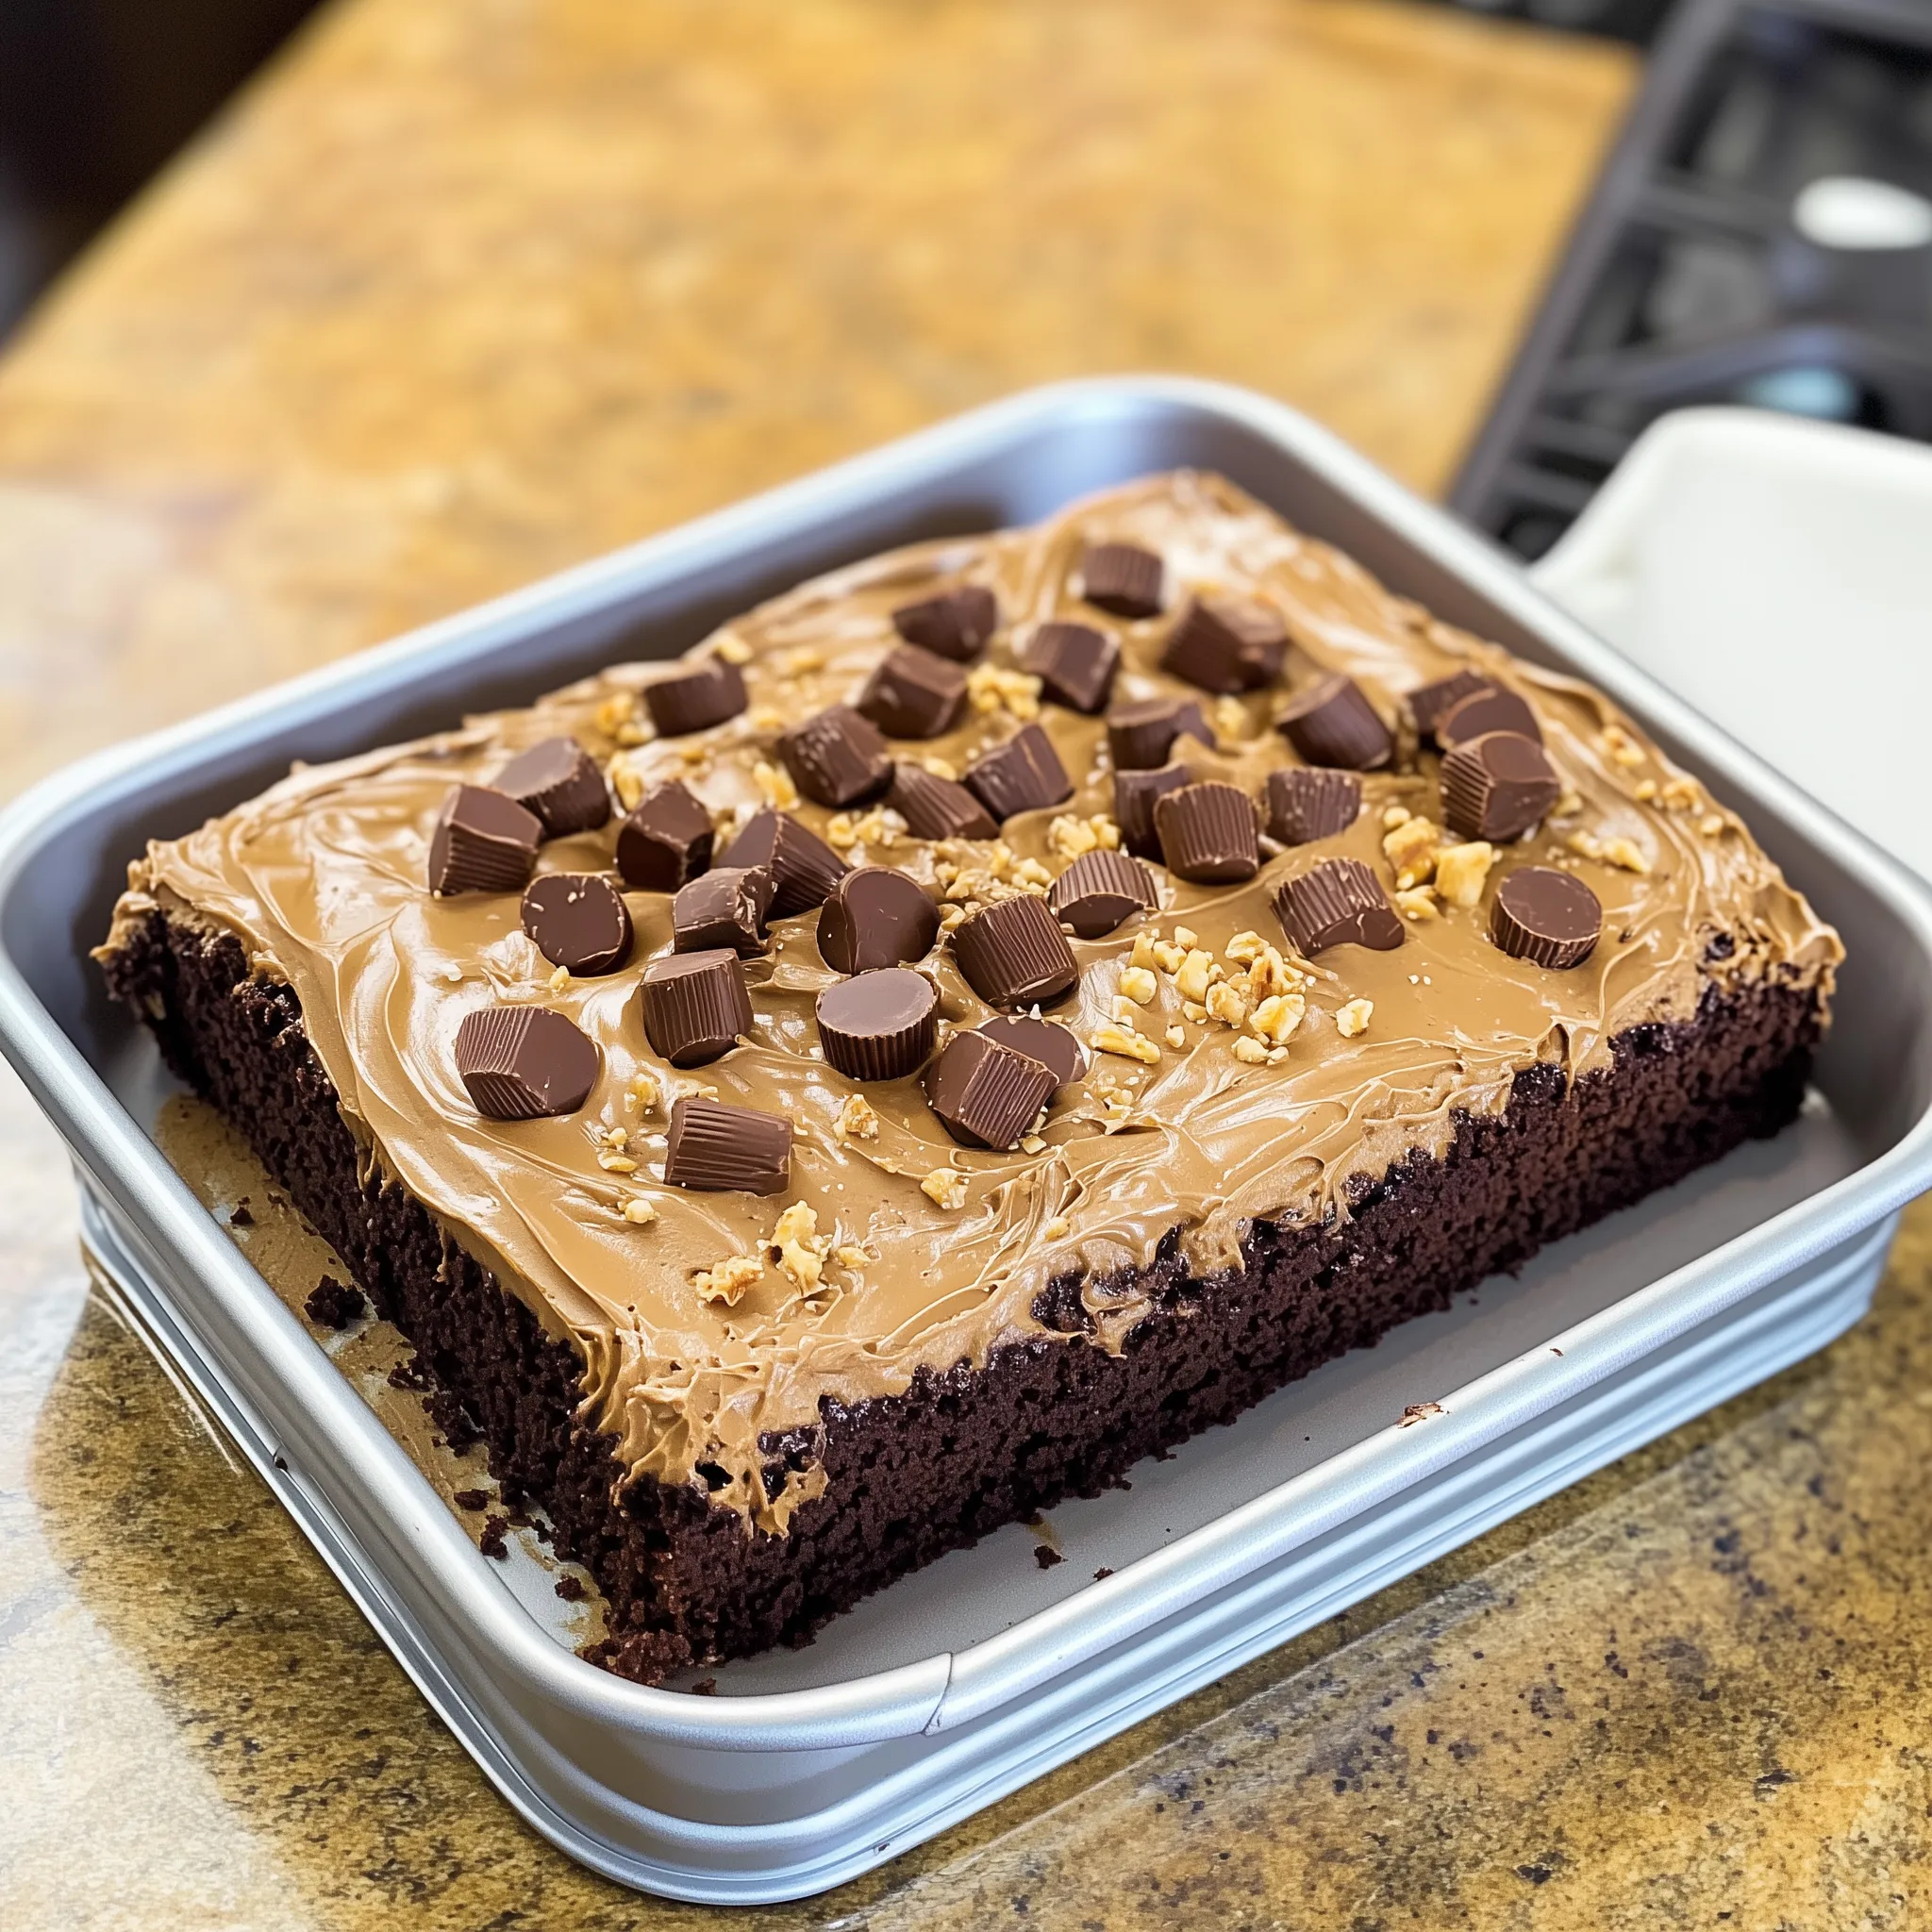
- Prepare and bake the chocolate cake according to the package instructions using a 13 x 9 inch cake pan. Make sure not to overbake as the cake needs to remain moist to properly absorb the pudding mixture in the next steps.
- Create The Holes:
- After allowing the cake to cool for 15 20 minutes so it's still warm but not hot, take the round end of a wooden spoon and poke holes throughout the entire cake, spacing them every 1/2 to 1 inch apart. These holes will fill with pudding and create pockets of flavor throughout the cake.
- Make The Pudding Filling:
- In a medium bowl, combine the instant vanilla pudding mix with 2 cups of cold milk. Whisk vigorously for a full 2 minutes until completely dissolved. Then incorporate 1/2 cup of creamy peanut butter into the pudding, whisking until smooth and well combined. The mixture should be pourable but not completely set.
- Fill The Holes:
- Pour the peanut butter pudding mixture evenly over the entire cake, paying special attention to filling the holes you created. Use the back of a spoon to gently push the pudding into any holes that didn't get filled. This step ensures every bite has that peanut butter pudding infusion.
- Add The Chocolate Layer:
- Place the chocolate frosting in a microwave safe bowl and heat for 15 20 seconds until it reaches a pourable consistency. Pour the warm frosting over the pudding layer and spread it evenly with the back of a spoon or offset spatula. The warm frosting will partially melt into the pudding for a marbled effect.
- Create The Peanut Butter Topping:
- Once the cake has cooled completely, combine the remaining 1 cup of peanut butter with the thawed whipped topping in a large bowl. Whisk until fully incorporated and smooth. This creates a light, mousse like layer that's reminiscent of the inside of a peanut butter cup.
- Add The Final Touches:
- Spread the peanut butter whipped topping evenly over the chocolate layer. Sprinkle the chopped Reese's Peanut Butter Cups across the entire surface of the cake. Press them in slightly so they adhere to the topping.
- Chill And Serve:
- Refrigerate the cake for at least 4 hours, or preferably overnight. This resting time allows all the flavors to meld together and the cake to set properly. Keep the cake covered and refrigerated, cutting slices as needed.
 Pin it
You Must Know
- Can be made up to 2 days in advance for even better flavor
- Serves perfectly at cool room temperature when the peanut butter layers are slightly softened
- The combination of textures from fluffy cake to creamy pudding to crunchy candy pieces creates the perfect dessert experience
This cake reminds me of the first time I introduced my daughter to peanut butter cups. Her eyes lit up with that first bite, and this cake brings that same joy to anyone who tries it. The vanilla pudding might seem like an unusual addition, but it's actually the secret ingredient that brings everything together.
Make It Your Own
This recipe is incredibly versatile and can be customized to suit your preferences or pantry. Use a dark chocolate cake mix for a more intense chocolate flavor, or substitute chocolate pudding mix for the vanilla if you prefer a double chocolate experience. You can also experiment with crunchy peanut butter for added texture or use other candy variations like Reese's Pieces or full-size cups cut into quarters.
Serving Suggestions
While this cake is certainly divine on its own, consider serving it with a scoop of vanilla ice cream or a drizzle of hot fudge sauce for an over-the-top dessert experience. For a fun presentation at parties, I like to serve individual portions in clear plastic cups so everyone can see the beautiful layers. This is especially popular with kids who love seeing all the components before digging in.
Storage and Freezing
This cake actually improves after a day in the refrigerator as the flavors have more time to meld together. Store any leftovers covered in the refrigerator for up to 5 days. The cake can also be frozen in individual portions wrapped tightly in plastic wrap and stored in freezer bags for up to 3 months. Thaw overnight in the refrigerator before serving for best results.
Frequently Asked Questions
- → Can I use a different cake mix flavor?
Yes, you can experiment with other cake mix flavors like vanilla or peanut butter for a unique twist.
- → How should I store this cake?
Store the cake covered in the refrigerator for up to 3-4 days to maintain its freshness and flavor.
- → Can I freeze Reese's poke cake?
Yes, you can freeze the cake without the whipped topping. Add the topping after it has thawed completely.
- → Can I substitute creamy peanut butter with chunky peanut butter?
You can use chunky peanut butter, but keep in mind it will affect the texture of the pudding and frosting.
- → What type of peanut butter cups work best?
Mini Reese's cups work best since they are easy to chop and sprinkle over the cake, but you can use larger ones if preferred.