 Pin it
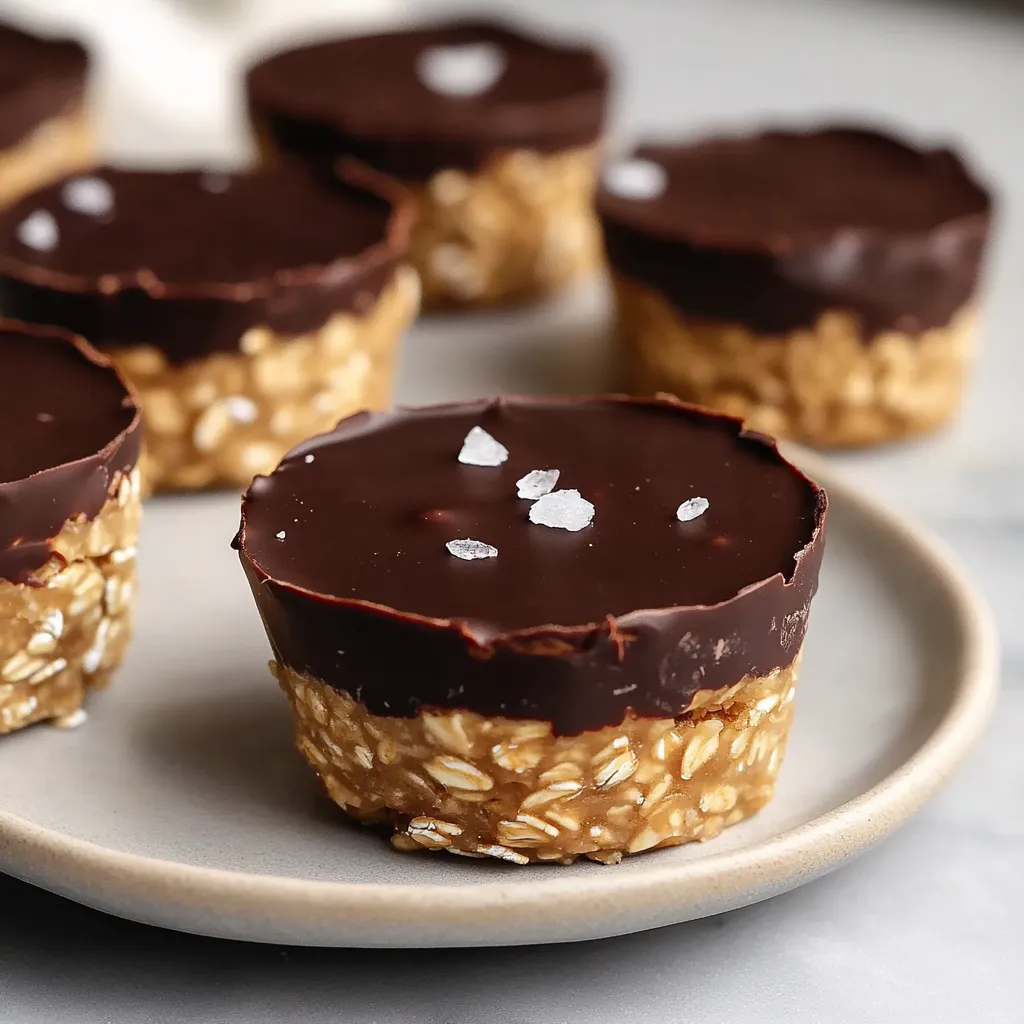
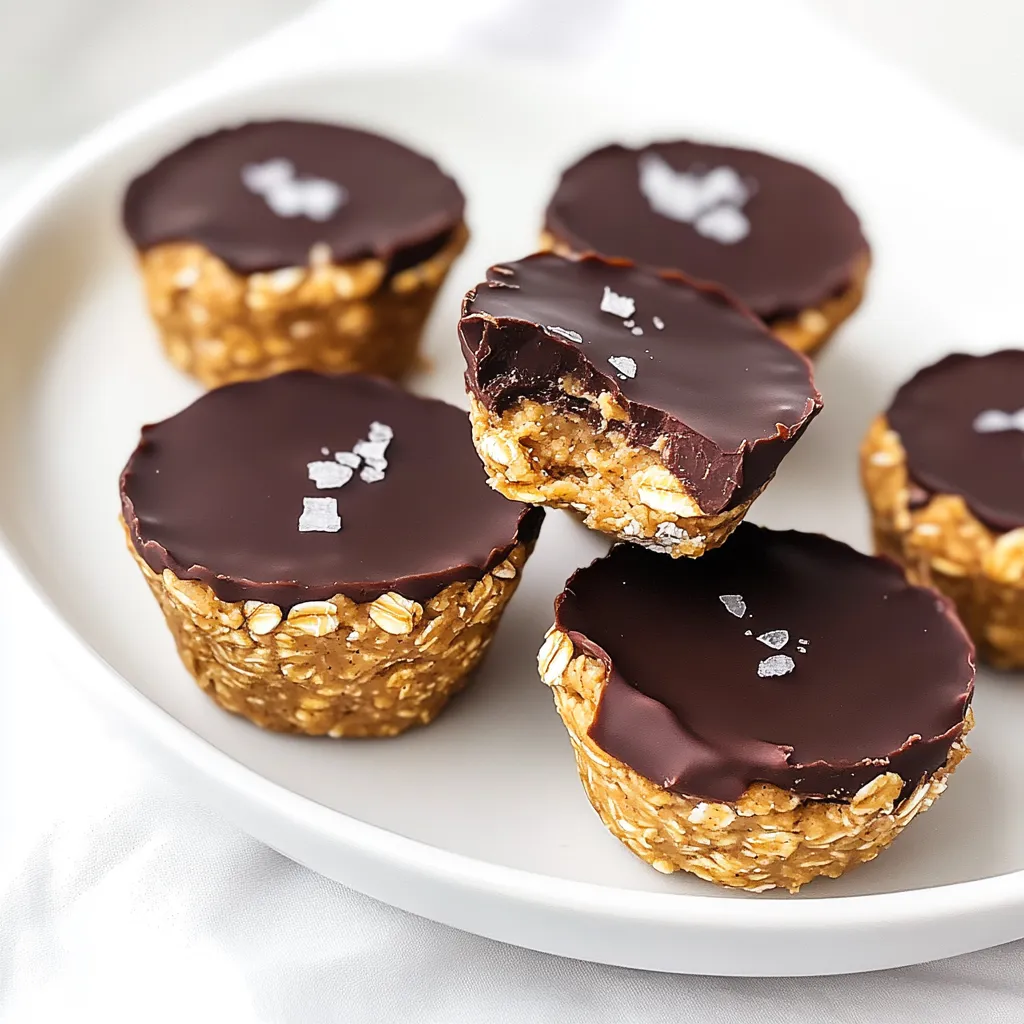
This hearty no-bake peanut butter oat cup recipe has been my go-to solution for quick snacks that satisfy both sweet cravings and hunger pangs. The combination of wholesome oats, creamy peanut butter, and rich chocolate creates the perfect balance of flavors and textures that both kids and adults adore.
I first created these during a particularly busy week when I needed healthy snacks but had zero energy for traditional baking. My family now requests them weekly and I always keep a batch in the freezer for impromptu sweet tooth emergencies.
Ingredients
- Rolled oats: Provide hearty texture and fiber make sure to use traditional not quick oats for the best consistency
- Natural honey: Adds the perfect sweetness while helping bind everything together
- Smooth peanut butter: Creates rich flavor and protein look for natural varieties with minimal ingredients
- Vanilla extract: Enhances all the flavors with its subtle warmth
- Dark chocolate pieces: Bring decadence choose 60 percent or higher cocoa content for best flavor
- Coconut oil: Helps the chocolate melt smoothly and adds a subtle tropical note
- Sea salt: For garnish the finishing touch that elevates all the flavors
Step-by-Step Instructions
- Combine the Base Ingredients:
- Add the oats honey peanut butter and vanilla to a medium bowl and stir vigorously until thoroughly combined. The mixture should be sticky and hold together when pressed. If it seems too dry add an extra tablespoon of honey or peanut butter. This thorough mixing ensures every bite has perfect flavor distribution.
- Prepare the Muffin Tin:
- Spray a standard 12-cup muffin tin generously with nonstick cooking spray ensuring the sides are well coated for easy removal later. Divide the oat mixture evenly pressing firmly with the back of a spoon to create a compact base. The more firmly you press the better your cups will hold together when serving.
- Melt the Chocolate Topping:
- Place chocolate pieces and coconut oil in a microwave safe bowl. Heat in 30-second bursts stirring between each interval until completely smooth usually takes 1-2 minutes total. Be careful not to overheat as chocolate can seize. The coconut oil creates a silky texture that hardens beautifully.
- Add the Chocolate Layer:
- Working quickly while the chocolate is still warm spoon about a tablespoon over each oat cup. Use the back of your spoon to spread it to the edges creating an even layer. Immediately sprinkle with a few flakes of sea salt while the chocolate is still wet allowing it to adhere properly.
- Freeze and Set:
- Place the entire muffin tin in the freezer uncovered for one hour until the chocolate layer is completely firm. Once set run a knife gently around each cup to loosen then carefully pop them out. The cups should release easily if properly coated with cooking spray.
The dark chocolate is truly what makes these special in my opinion. I once tried making them with milk chocolate and while still delicious they lacked that perfect contrast between the sweet oat base and slightly bitter chocolate top. My daughter now helps make these every Sunday afternoon our little tradition that ensures we always have healthy treats ready for the week.
Perfect Substitutions
These peanut butter oat cups are incredibly versatile and adaptable to dietary needs or preference. For a nut-free version substitute sunflower seed butter or tahini for the peanut butter. The flavor profile changes slightly but remains delicious. For a vegan version replace honey with pure maple syrup or agave nectar. If you prefer a less sweet treat reduce the honey to 1/3 cup and use extra dark chocolate 70 percent or higher.
Storage Wisdom
While these cups keep well in the refrigerator for about a week they truly shine as a freezer staple. Store them in an airtight container with parchment paper between layers to prevent sticking. When frozen they maintain their texture perfectly for up to three months. I actually prefer eating them slightly chilled from the refrigerator when the chocolate has a satisfying snap but the oat base remains slightly chewy. For an emergency chocolate fix they can be enjoyed straight from the freezer no thawing required.
Creative Variations
The basic recipe serves as an excellent canvas for endless customization. Try folding chopped dried cherries or cranberries into the oat mixture for tartness that balances the sweet components. Adding a teaspoon of cinnamon or cardamom to the base creates warm aromatic notes perfect for fall and winter. For texture contrast sprinkle chopped nuts or hemp seeds on top of the chocolate before it sets. My personal favorite variation includes a thin layer of raspberry jam between the oat base and chocolate topping creating a PB&J inspired treat.
 Pin it
Frequently Asked Questions
- → Can I use quick oats instead of traditional rolled oats?
Yes, quick oats can be used, but they may result in a softer texture compared to rolled oats.
- → What can I substitute for natural honey?
You can use maple syrup or agave nectar as a substitute for honey to maintain the sweetness.
- → Can I use milk chocolate instead of dark chocolate?
Yes, milk chocolate can be used if you prefer a sweeter taste instead of the richness of dark chocolate.
- → How should I store the oat cups?
Store the oat cups in an airtight container in the fridge for up to a week or in the freezer for three months.
- → Can I add nuts or dried fruit to the mixture?
Absolutely! You can mix in chopped nuts or dried fruit for added texture and flavor.
