
 Pin it
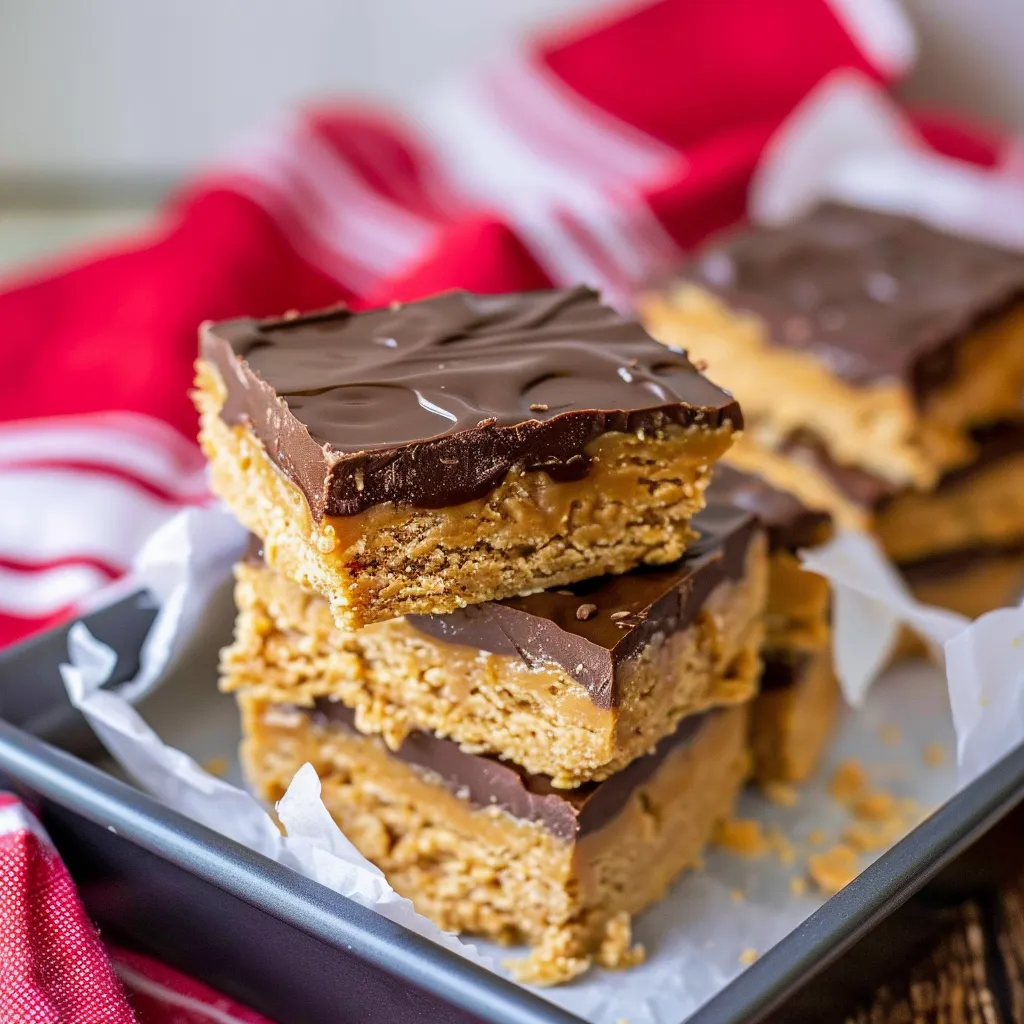
These peanut butter bars are the perfect blend of creamy peanut butter and rich chocolate that transport me straight back to childhood birthday parties. Incredibly easy to make with just a handful of ingredients, they've become my go-to dessert for potlucks and family gatherings where they disappear within minutes.
I first made these bars when my oven broke during a holiday party preparation. What started as a desperate solution has become one of my most requested treats, with friends regularly texting me for the recipe after tasting them just once.
Ingredients
- Butter: creates the perfect texture for the base and helps everything bind together
- Powdered sugar: adds sweetness while maintaining a smooth texture unlike granulated which would be grainy
- Graham cracker crumbs: provide structure and that distinctive slightly honey flavor
- Creamy peanut butter: use a commercial brand like Jif or Skippy for best consistency
- Semisweet chocolate chips: create the perfect topping with balanced sweetness look for high quality chips for the smoothest melt
Step-by-Step Instructions
- Prepare Your Pan:
- Line your 8×8 baking dish with foil, making sure to leave overhang on the sides. This crucial step ensures you can easily lift the entire dessert out after chilling for perfect cutting.
- Melt The Butter:
- Place butter in a large microwave safe bowl and heat until completely melted. The butter needs to be hot enough to help dissolve the powdered sugar when mixed.
- Create The Base:
- Add powdered sugar, graham cracker crumbs and peanut butter to the melted butter. Mix thoroughly until you achieve a uniform consistency with no dry spots. The mixture should hold together when pressed.
- Form The Bottom Layer:
- Press the peanut butter mixture evenly into the prepared pan. Use the back of a measuring cup to create a smooth, compact surface which will support the chocolate layer.
- Prepare The Chocolate Topping:
- Melt chocolate chips in a separate microwave safe bowl, heating in 30second intervals and stirring between each until completely smooth and glossy. Be careful not to overheat or the chocolate will seize.
- Add The Chocolate Layer:
- Pour the melted chocolate over the peanut butter layer, spreading it evenly to cover the entire surface. Use an offset spatula for the smoothest finish.
- Chill Until Set:
- Refrigerate for at least one hour until both layers are completely firm. This patience is rewarded with clean cuts and perfect texture.
- Slice And Serve:
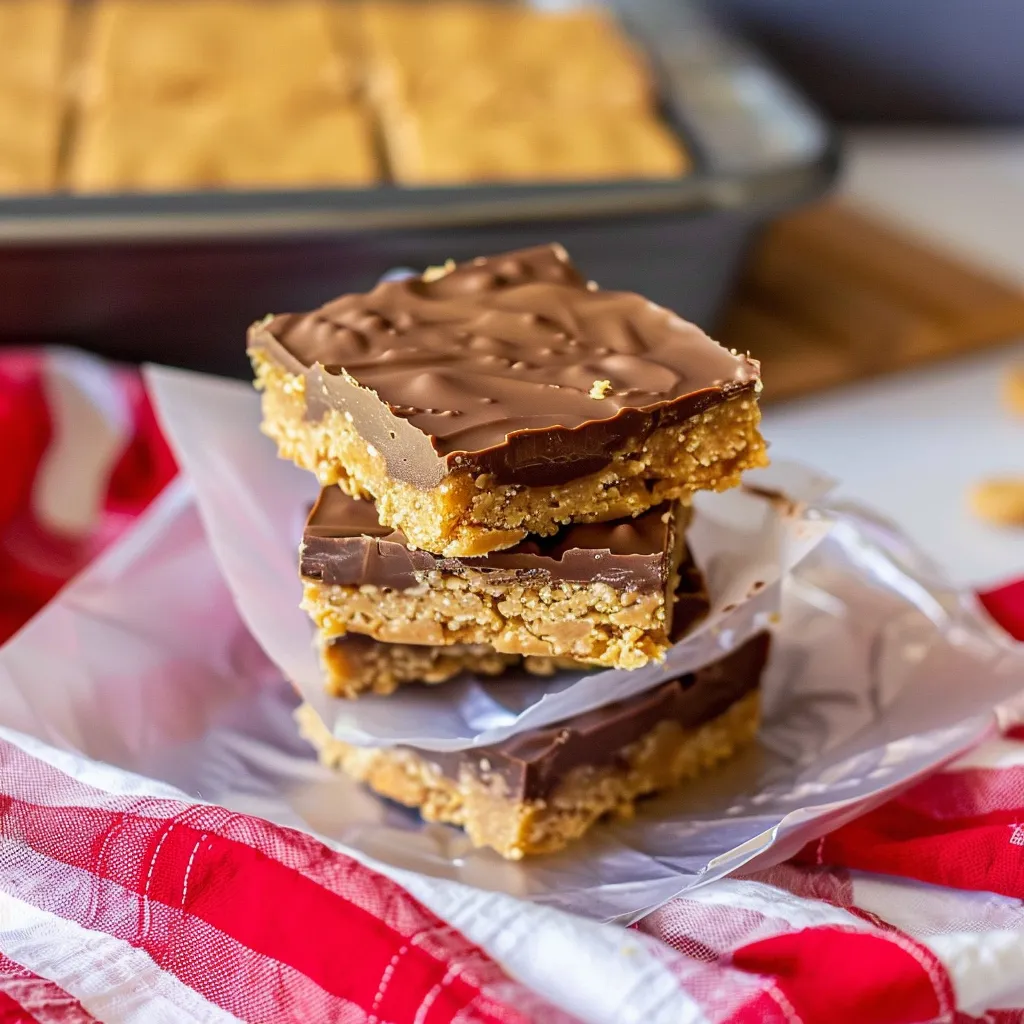
- Remove the entire dessert from the pan using the foil overhangs, place on a cutting board, and slice into 16 equal squares for perfect portion control.
 Pin it
The chocolate peanut butter combination in these bars reminds me of my grandfather who always kept peanut butter cups in his pocket for us kids. Whenever I make these, I think of summer afternoons on his porch, trading stories over sweet treats that somehow tasted better because they came from him.
Storage Solutions
These peanut butter bars keep beautifully in an airtight container in the refrigerator for up to a week, though they rarely last that long in my household. For longer storage, they can be frozen for up to three months. I recommend placing wax paper between layers if stacking to prevent sticking. When ready to enjoy from frozen, allow them to thaw in the refrigerator rather than at room temperature for the best texture.
Flavor Variations
While the classic recipe is perfect as is, I've experimented with several delicious variations over the years. Try adding a teaspoon of vanilla extract to the peanut butter layer for extra depth, or substitute almond butter for a sophisticated twist. For chocolate lovers, mix mini chocolate chips into the peanut butter layer before chilling. My personal favorite variation involves sprinkling flaky sea salt over the chocolate layer before it sets, creating an irresistible sweet-salty combination that elevates these simple bars to gourmet status.
Serving Suggestions
These versatile bars shine in multiple settings. For casual gatherings, cut them into traditional squares. For elegant occasions, try cutting them into smaller bite-sized diamonds and arranging on a platter with fresh berries for color contrast. They pair wonderfully with a scoop of vanilla ice cream for dessert, or alongside strong coffee for an afternoon treat. During holiday seasons, I often place each bar in a mini cupcake liner and arrange them on tiered stands for an impressive dessert table presentation that requires minimal effort.
Frequently Asked Questions
- → Can I use chunky peanut butter instead of creamy?
Yes, chunky peanut butter can be used for added texture, though it may slightly alter the smoothness of the bars.
- → Can I substitute dark chocolate for semi-sweet chocolate?
Absolutely! Dark chocolate provides a richer flavor and pairs well with the sweetness of the peanut butter base.
- → How should I store these bars?
Store them in an airtight container in the refrigerator for up to a week. Bring them to room temperature before serving for the best texture.
- → Can I freeze these bars?
Yes, you can freeze them. Wrap the bars tightly in plastic wrap and store them in an airtight container for up to 3 months.
- → Can I make these bars without using a microwave?
Yes, you can melt the butter and chocolate on the stove using a low heat setting or a double boiler for better control.